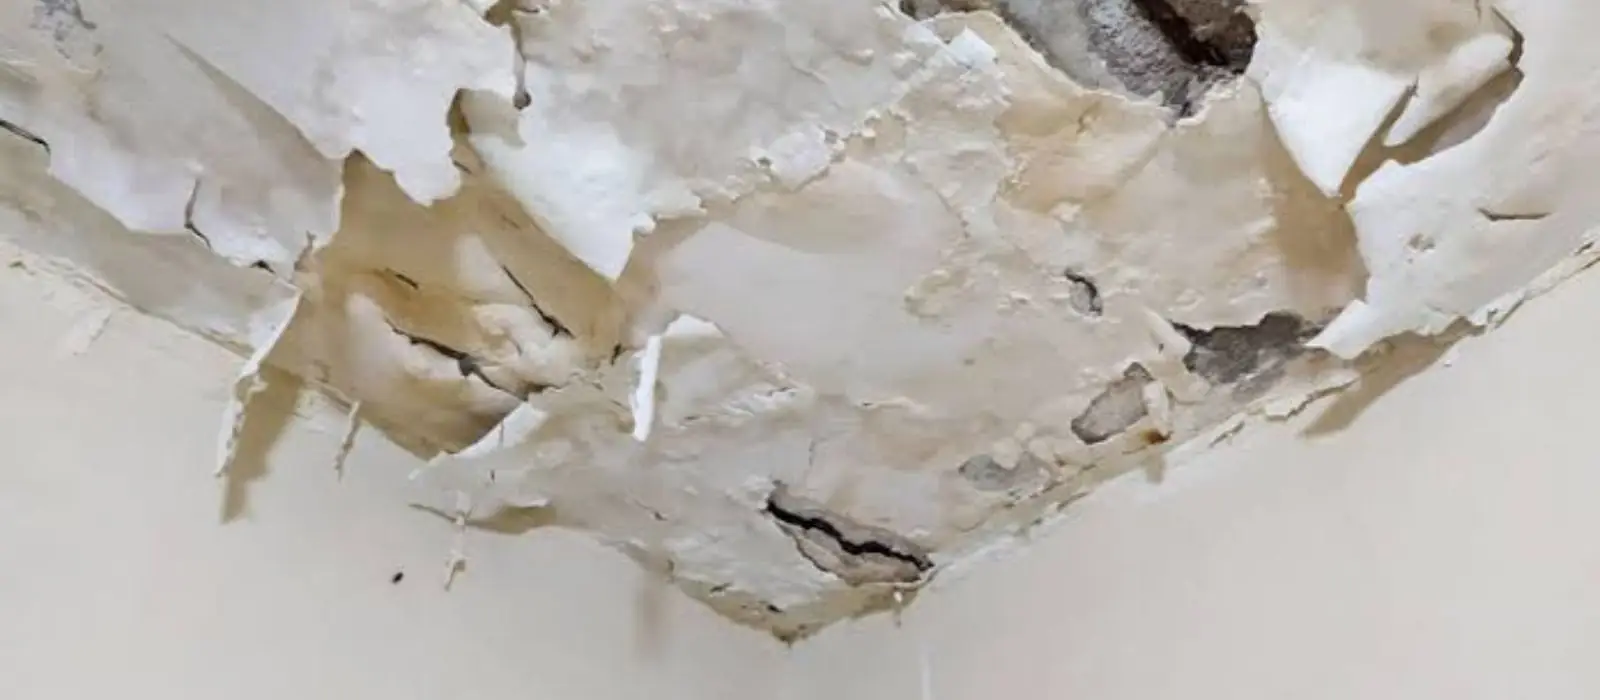
Start with the order of operations
The most common mistake is painting first. Fresh paint over a wet ceiling looks fine for a few days and then bubbles. The right order is source, dry, safety check, cut out, replace, then finish.
Every step has something to check before you move on. The ordered list below gives you that, and the sections after it explain each one.
If the ceiling is sagging, dripping steadily, or the leak came from sewage or an unknown source, stop and call a professional first.
The repair sequence and what to check at each step
- Find and stop the source. Check the roof, the plumbing above, an upstairs bathroom, an air conditioner drain line or a vent. Check: has the water stopped completely?
- Protect the room. Move furniture, lay plastic, and set out buckets. Check: is any electrical fixture wet? Turn off power to that circuit.
- Look for sagging or bulging. Check: is the drywall bowed or holding water? If yes, stay out from under it and call a pro.
- Relieve trapped water only if safe. A small hole at the lowest point of a bulge can let water drain into a bucket. Check: can you do this from a stable ladder without standing under the bulge?
- Dry the cavity. Open the area, remove wet insulation, and run air movers and a dehumidifier. Check: do moisture meter readings match a dry reference spot?
- Cut out damaged drywall back to the middle of the nearest joists. Check: is the framing dry and clear of growth?
- Inspect insulation. Replace insulation that was soaked. Check: is it compressed, stained or still damp?
- Install new drywall, tape and mud. Check: are the seams flat and fully dry between coats?
- Prime with a stain-blocking primer. Check: do old stains show through after the first coat?
- Texture and paint. Match the existing finish and paint the whole ceiling plane for an even look. Check: does the patch blend in daylight?
Safety first: sagging, bulging and electrical
Water can weigh down a ceiling quickly. A bulge or sag means water is trapped, and the drywall can fall without warning. Stay out from under it, keep others away, and call a professional.
Water near light fixtures or outlets is an electrical hazard. Switch off the breaker for that area before you touch anything, and do not stand in water while doing it.
Relief holes are for trained or very careful hands. A small hole lets water drain in a controlled way, but if you cannot reach it safely, leave it to a crew. Use a bucket, wear eye protection and keep your face out of the stream.
Drying matters more than most people expect
A ceiling can look dry on the surface while the cavity above it stays wet. Wet insulation holds water against the back of the drywall, and wood framing can stay damp for days.
Drying uses air movers and dehumidifiers with moisture readings taken daily. A moisture meter can tell you when the framing and drywall have reached normal levels. Thermal imaging cameras help locate hidden wet areas.
Ceiling soaked or sagging? Call our 24/7 emergency line and we will help you stop further damage.
☎ Call (385) 988-9410Drywall also wicks water, so the damage often extends beyond the stain. Plan to cut back to sound material, not just to the edge of the mark.
| What you see | Likely meaning | Next move |
|---|---|---|
| Small tan stain, dry to the touch | Old or stopped leak | Confirm dry with a meter, prime and paint |
| Damp stain that grows | Active leak | Find and stop the source first |
| Bulge or sag | Trapped water | Stay out from under it and call a pro |
| Dark or dirty water | Possible contamination | Call a professional for cleanup |
Cutting out and replacing the drywall
Mark a clean rectangle that reaches the middle of the nearest framing members. Score the line, cut with a drywall saw, and pull the damaged panel out. Wear eye protection and a dust mask, and watch for wires.
Install backing where needed, then screw a new piece of the same thickness into place. Tape the seams with joint tape and apply thin coats of joint compound, letting each coat dry fully. Sand lightly between coats.
Replacing a patch is simpler when the area is small. For a whole ceiling or a large span, a crew handling water damage repair can finish the job at scale.
Prime, texture and paint
Use a stain-blocking primer on the patch and on the old stain. Without it, brown rings can bleed through paint. Let the primer dry according to the label.
Texture comes next. Match the pattern you have, whether it is knockdown, orange peel or popcorn, by testing on cardboard. Paint the full ceiling plane in one pass to hide the seam.
Ventilate while you work and follow every product label. If your home was built long ago and you are unsure what is in the old texture, ask a professional before you sand or scrape.
When this is beyond a DIY job
Call a professional if the ceiling is sagging, if the water was dirty, if the source is unknown, if wiring is involved, or if insulation is soaked over a large area. Also call when the damage spans more than one room.
A crew can dry the structure, document it with moisture readings, and coordinate with water mitigation and rebuild. If you live in Mapleton or Provo, the same sequence applies.
Call a pro if you see
A bulging or sagging ceiling
Water coming through light fixtures
Dark or dirty water, or a sewage smell
Wet insulation across a large area
If you plan to file a claim, take photos before you cut anything and check your policy with your insurer.
Spanish Fork note: irrigation season and frost
Spanish Fork's pressurized irrigation system typically runs mid-April to mid-October, and the owner is responsible for the line beyond the first fitting after the meter. That is a reminder that outdoor lines near a wall are the homeowner's to maintain, so check fittings that sit close to the house.
City structural design criteria use a 30-inch frost depth. Winter freeze cycles can stress exposed pipes in attics and exterior walls, so insulate lines and know where your main shutoff is before a cold snap.
About 80.4% of Spanish Fork homes are owner-occupied, so most ceiling leaks are the homeowner's to find and fix. Ask Spanish Fork Building at 40 S Main St what applies to a larger repair.
Source types: City of Spanish Fork Water Division, city structural design criteria, U.S. Census Bureau, Spanish Fork Building
Frequently asked questions
Only after the source is fixed and the area is fully dry. Use a stain-blocking primer first or the stain will show through.
Only if you can do it safely from a stable position that keeps you out from under the bulge. If in doubt, call a professional.
Soaked insulation often needs replacing because it holds water against the drywall. Check it once the ceiling is opened.
Until moisture readings match a dry reference. That is days, not hours, and depends on how wet the cavity was.
Sudden and accidental leaks are often covered, while slow leaks often are not. Check your policy and ask your insurer.
Contact Spanish Fork Building at the city office, 40 S Main St, to ask what applies to your project.